Tag Archive for: custom brushes

Over 110 new Volume 2 Custom bru

The Artwork:

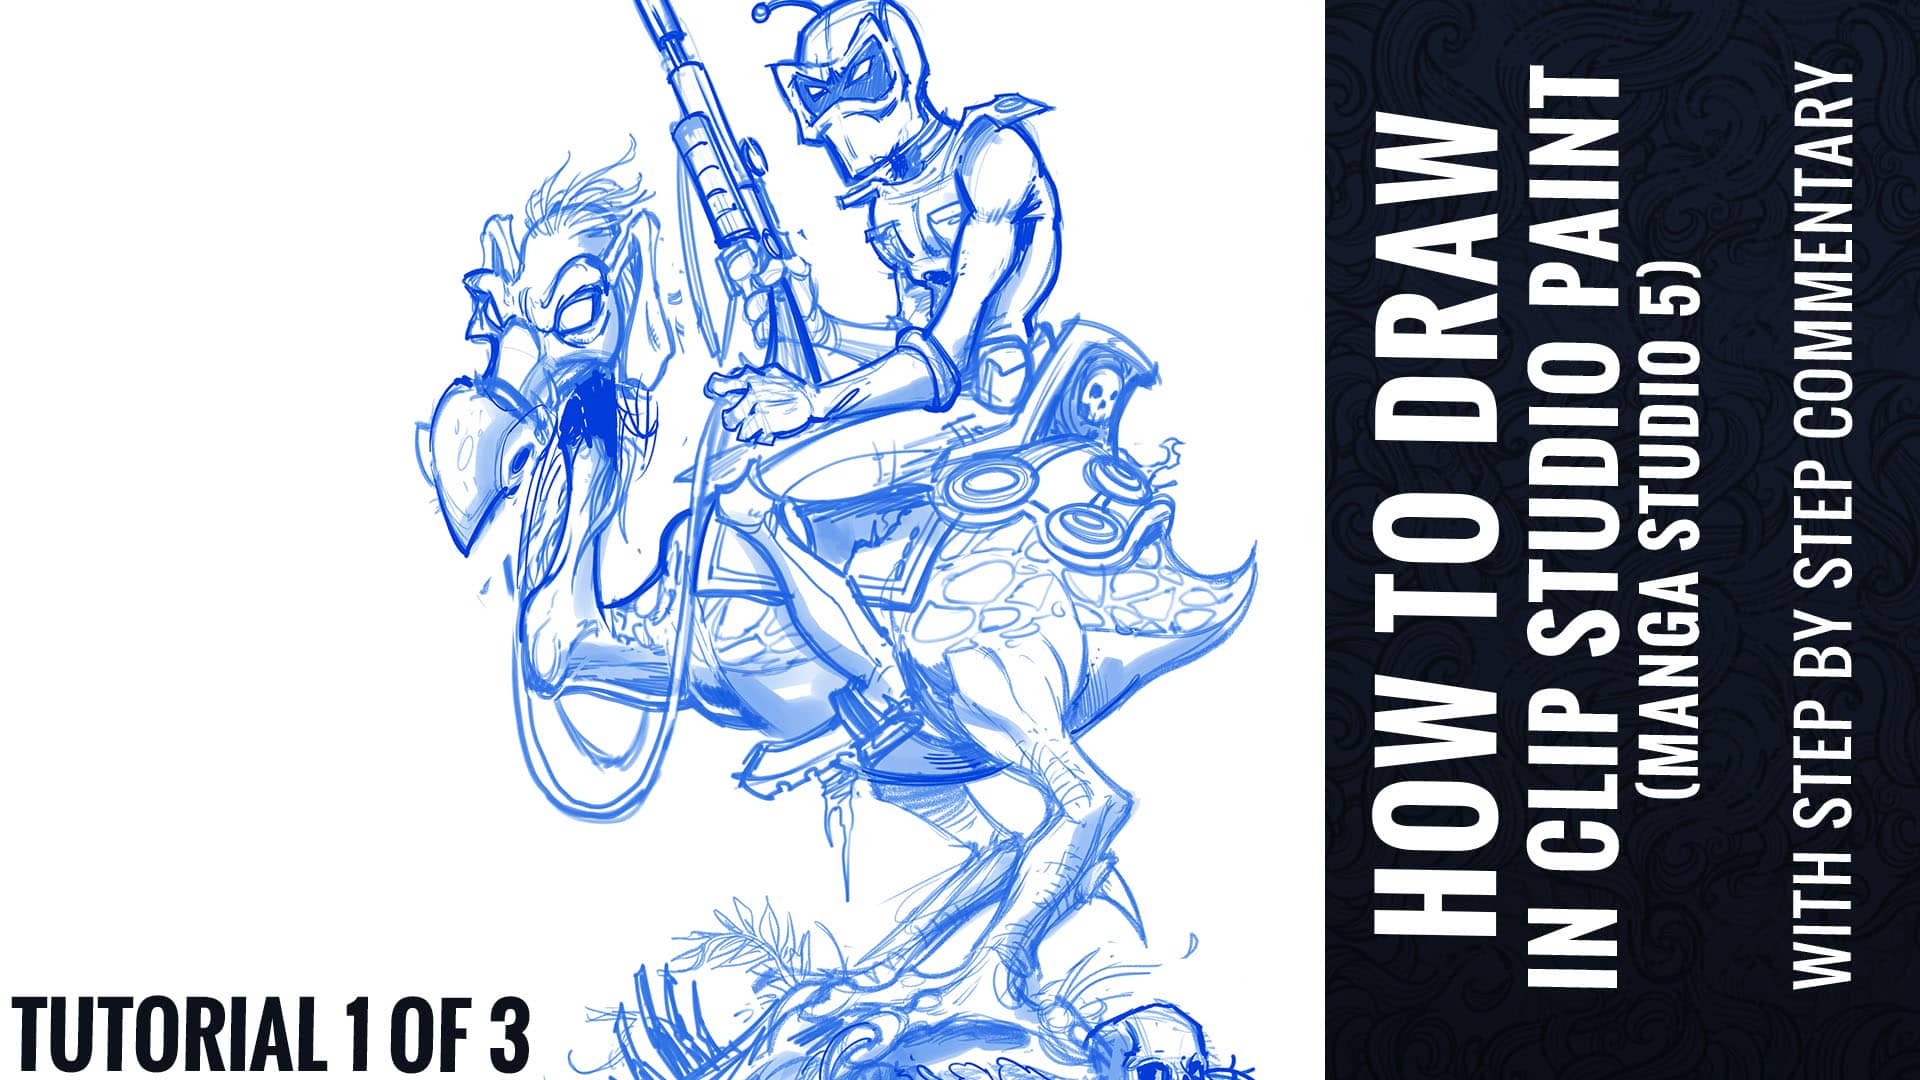
For this tutorial, I decided to create a tribute illustration to one of my favorite animated movies, Wizards by Ralph Bakshi.  I chose to illustrate the iconic poster from the movie, featuring the character Peace.  I thought a rendering my own stylistic approach to an existing piece of artwork would be a great vehicle for a tutorial, because the foundation has already been set, and we can focus instead on the technique.

Ralph Baksi’s original classic poster art. Tribute illustration we will be creating in this tutorial.

TUTORIAL 1 0f 3 – PENCILING

    1. Document Setup

      1. I set up most documents at 300 dpi 20×20.  
        1. It’s very important that anything you are hoping to print be set up at 300 dpi.  72 dpi will print out pixelated, and will get too distorted if you ever need to increase the size.
      2. Create a New Window and shrink it to about 25% the size of your main window.
        1. This is a smaller live preview of your image that will help you keep an eye on your composition as a whole.  
      3. VIEW>ROTATE/INVERT>Flip horizontal window.
        1. This will help you spot errors by having a view of your illustration mirrored.
        2. Better than photoshop because you’re not actually flipping the artwork, just the view of it, without m
      4. Set up separate layer groups for the sketch, pencils, inks (with pre-made action)
        1. Encourages me to take the time to rough and plan the piece first
        2. The Layer Color effect of each group is set to magenta, non-photo blue, and black respectively, so everything I draw in those layers will appear as that color.


  • TOOLS
  • Full list of tools https://www.flylanddesigns.com/faq-for-artists/
  • Wacom Cintiq 24HD
  • iMac 5K 27”
  • Nostromo Razer Gamepad


          1. For keyboard shortcuts
    1. Gather Reference

      1. Do plenty of research before you start drawing
        1. Especially technical items that you may not have drawn before
        2. Getting them right adds a lot to your piece
        3. Do research on settings, environments, and lighting
      2. Gather inspiration for color schemes and styles
        1. You often won’t take essential risks unless you see that it’s been successful in another piece
        2. Encourages you to try things you wouldn’t have otherwise
      3. Reference is a tool
        1. Don’t become overly dependant on it, but don’t go without it either.
        2. Do not copy – use only for inspiration


  • Drawing the Thumbnail sketch


      1. Stay way zoomed out
        1. This will help you focus on just the overall shape of the design and avoid getting sucked into detail work
      2. Focus on skeletal structure and main shapes
      3. Make sure that your figure has a strong sillhouette
        1. This means, if your character was filled entirely with black, you should still be able to differentiate it’s parts, and it should look interesteding.  If it looks like a big blob, you may need to make adjustments.
    1. Pencils

      1. Turn your thumbnail opacity down
      2. Begin drawing in the Pencils Layer group
      3. Flesh out the details and shapes, making sure to use a lot of circles and curved strokes.
      4. This drawing can still be really rough – main details will be accomplished in the inking stage.
      5. Don’t focus on the style of the lines yet, or line weights – just focus on the outlines of the different shapes.
      6. Once you have cleaned up your pencil drawing and constucted the main shapes, go in with hard pencil and clean up details
        1. You do not need to trace over everything – just the focus points that need work.
      7. This drawing is only a guid to help you in the inking stage.  So you can skip over parts that you think you can handle confidently in the ink stage.


  • Shading layer


Quickly rough in the mid tones with a broad shading brush on a layer above set to Multiply.

Custom Manga Studio (Clip Studio Paint) Brushes –
Texture Brushes

100+ Brushes Available for $2.99 here:
https://www.flylanddesigns.com/shop/

There are over 20 texture brushes here that I created from found and scanned textures. All can be used with any color, and have fine-tuned settings to help you beat up your illustrations in Manga Studio 5.

This video quickly walks you through each set of brushes and shows them in use.

Included in the pack are

-14 Inking Brushes
-18 Paint Brushes
-12 Pencil Brushes
-5 Shading Brushes
-16 Splatter Brushes
-20+ Special Pattern Brushes
-22 Texture Brushes

The brushes are useful for all styles of illustration. As a freelance digital illustrator, I use them primarily for Comic Book illustration, t-shirt design, logo design, character and concept illustration, sketching, and painting.

Here is a short video tutorial I created showing how to create custom brushes in Manga Studio 5.  One major problem I kept running into was that every time I created a new brush, it would only paint in black.  I finally figured out the simple trick on how to make a custom brush in Manga Studio paint in color.  Shame on Smith Micro for not making this clearer!  But I can’t stay mad you Manga Studio…

I discovered Manga Studio about a year and a half ago, and I believe it’s helped bring my artwork to a new level – and made the act of drawing so much more enjoyable and intuitive.

But there are a couple of things about Manga Studio that aren’t as intuitive as Adobe Photoshop.  The brush engine is far more complex (which can be a good thing), which makes for some frustrating hair-pulling at first glance.

Here is a direct link to the video if it’s not loading correctly:  http://youtu.be/vZI5Kem8dTQ

And follow me on Youtube for more Manga Studio tutorials (http://www.youtube.com/flylanddesigns)