Tag Archive for: inking

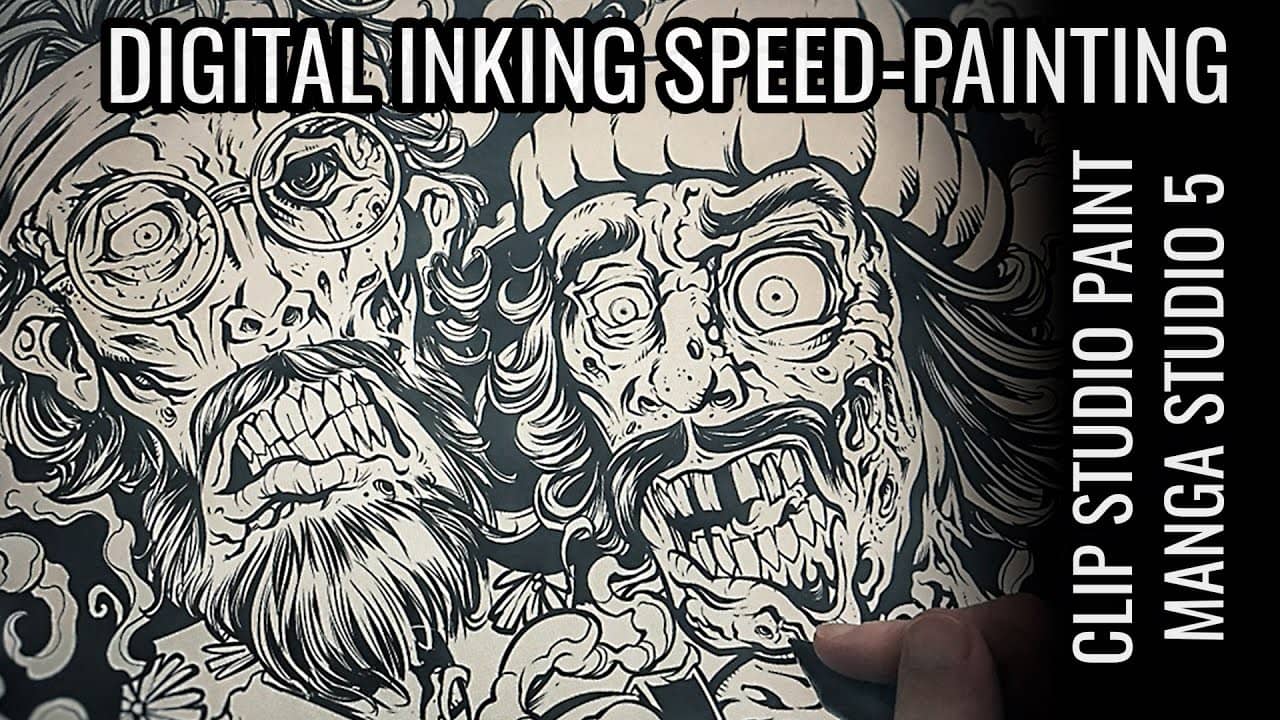
Silk-screen t-shirt illustration I created in tribute to the legendary Cheech and Chong from Up In Smoke with the characters as weed-eating, brain-smoking zombies.
I drew this artwork in Clip Studio Paint (Manga Studio 5) with a Wacom Cintiq. This is inspired by an illustration I created years ago – I wanted to test out my new skills, and design something that was more fitting for a t-shirt and filled out the front more (the previous design was too square). I also wasn’t happy with the likeness of the characters in the first design, so I drew everything from the ground up, and added a lot of elements from the films and really tried to do my best to capture the spirit of these marijuana legends.

Over 110 new Volume 2 Custom bru

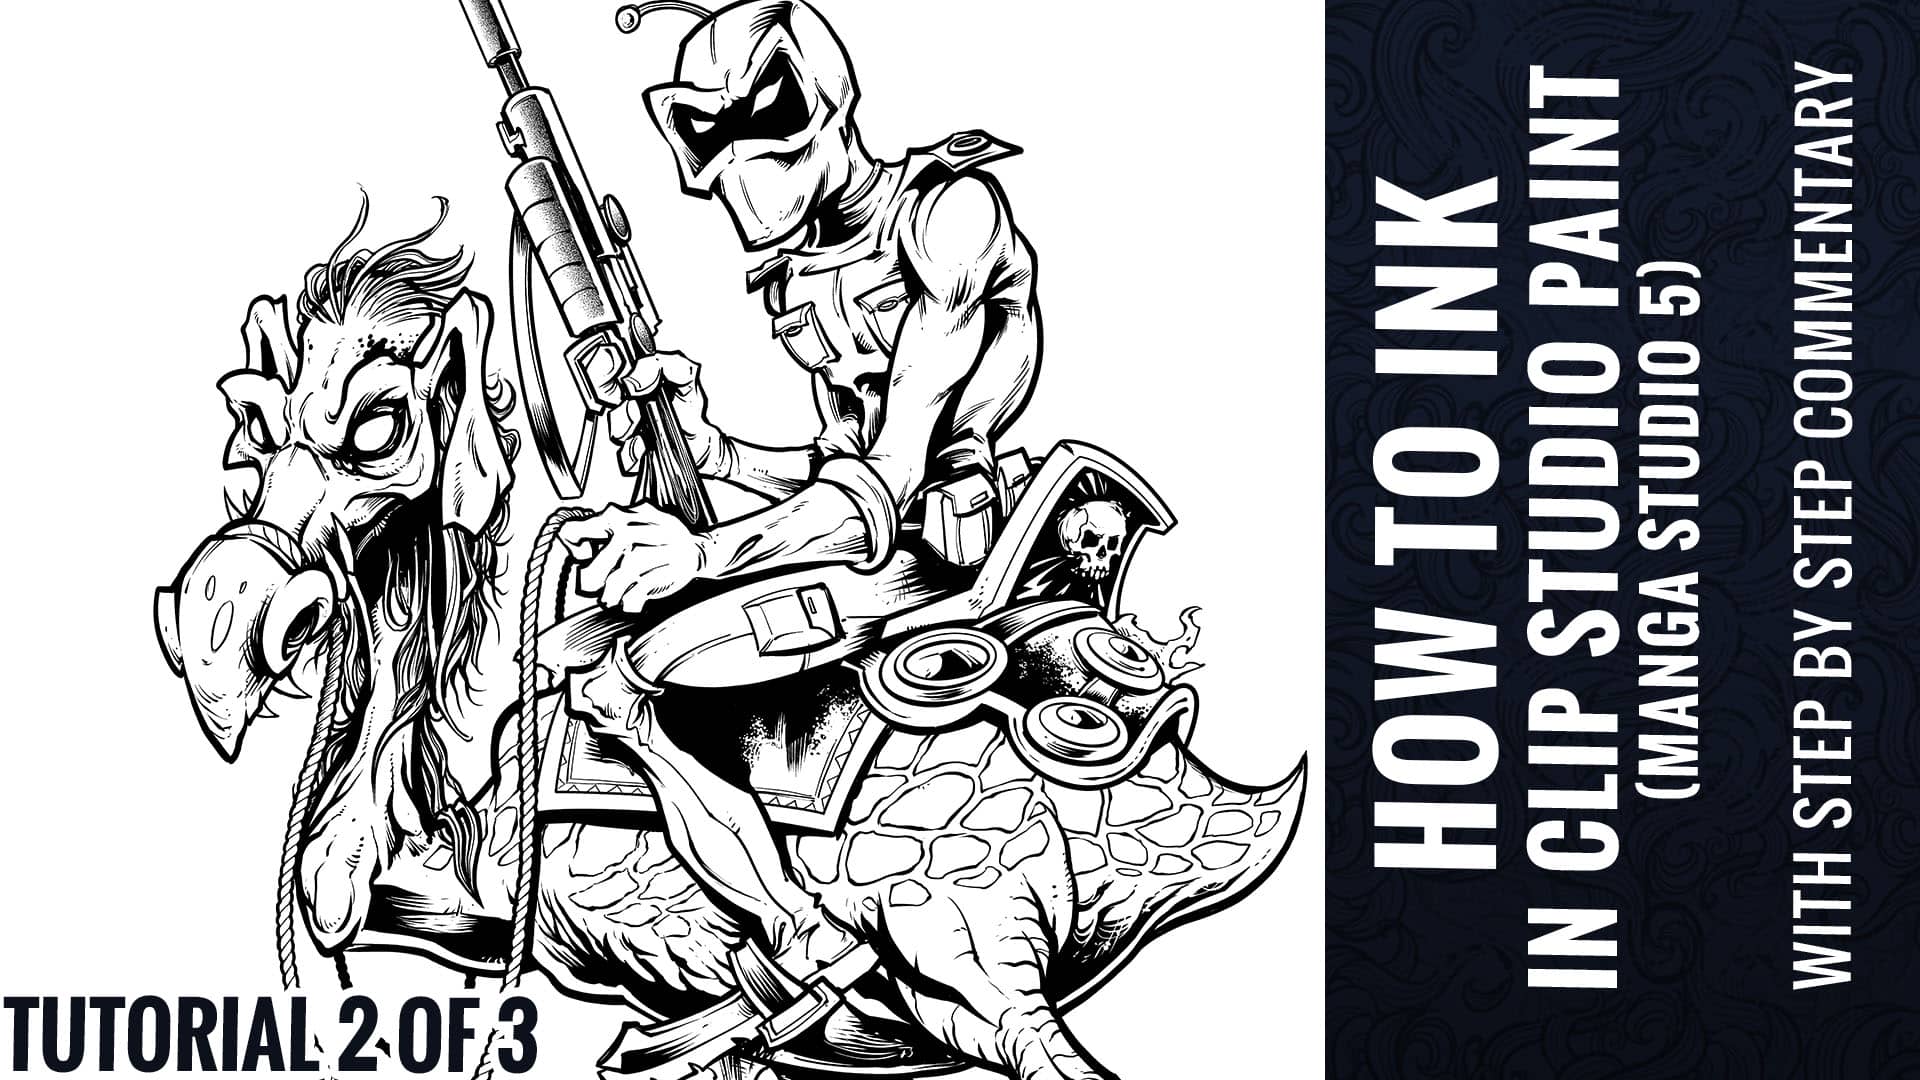
TUTORIAL 2 0f 3 – INKING


VIDEO 2:  https://youtu.be/r6kHk6nG2Io

    1. Inking

      1. Setup
        1. Lower opacity on blue line pencils layer so you can just barely see it.


  • Change resolution of document to 600 dpi


          1. Makes linework sharper and more expressive
        1. Change shortcuts so you can quickly access your inking tools
          1. I have a shortcut on my mouse reel to quickly change between my two favorite inking brushes – one for outlines, and one for details.
      1. Warm up
        1. Create a new practice layer
        2. Begin by setting aside 15 minutes or so where you just start inking different parts of the illustration and experiementing with different brushes and strokes.
        3. This layer will be deleted when it’s time to begin.  Having a practice layer can take a lot of pressure of you in the beginning, and really helps you loosen up before diving in.
      2. Start with outlines and keylines
        1. Avoid focusing on rendering or detail in the beginning
        2. Just outline the outside of all the basic shapes and forms.
      3. Fill in large areas of black first
        1. Saves time by filling the piece quickly and preventing you from mistakintly rendering things that are in deep shadow.
        2. Helps build forms quickly
        3. Helps you keep your piece balanced and with an appealing contrast from the foundation
      4. Using the curve tool, elliptical rulers, and perspective rulers when neccessary.
        1. Use this in situations  when you would traditionally use a ruler, french curve, or other stencil tool when drawing traditionally on paper.
        2. Don’t try to force it freehand!  What are you trying to prove!?
      5. Avoid Zooming in too close
        1. I generally try not to zoom in more than 50% of the illustration, or put another way, 1.5 to 2X the actual size of the printed illustration.
        2. You’re going to waste time and you might be in danger of muddying up the illustration with details that are too closely packed together.
      6. Ink with the coloring method in mind
        1. High Rendering with Color:  Use fewer, thinner lines if you plan on doing a lot of rendering and shading in the coloring stage.
          1. Allow space for them to be seen.
          2. Better for cartoonish work
          3. Let the lines suggest and outline the form only.
        2. High Rendering with Ink:  Use more, thicker, and more detailed lines if you plan on letting the inks do the work of rendering.
          1. Great for t-shirt and comic book artwork.
          2. Saves a lot of time in the coloring stage.
      7. Create quick strokes to give them life and avoid a shaky hand.
      8. Move your arm at the elbow like a seismograph drawing lines on paper.
      9. Push and pull the lines in the direction that hugs the form.
        1. Like an object in a wind tunnel, imagine the ink lines flowing around the form.
      10. Use stippling and/or textured brushes sparingly to add life and variation to the artwork


  • When you are about 75% done, Turn off pencil layer once key lines are drawn.


      1. This allows you to see the piece anew, without the pencil layer.
      2. You will discover mistakes at this point, and discover areas that need more rendering.
      3. If you wait until the end to turn this layer off, it may interfere with your overall contrast of the piece.


Go To Part 2 of 3 - Inking

Next I’ll show you how I ink artwork in Manga Studio 5 (Clip Studio Paint)


Brushes used:

If you would like to purchase any of the brushes I used in this tutorial, they are available at http://ClipStudioPaintBrushes.com

Follow Brian and check out more of his work:

https://www.flylanddesigns.com

Follow me on Facebook:

https://www.facebook.com/brianallen.flylanddesigns

On Instagram:

http://instagram.com/flylanddesigns_brian_allen

On YouTube:

https://www.youtube.com/user/flylanddesigns

This New YouTube video shows how I traditionally ink by hand with a Pentel brush pen for t-shirt design.

This is a T-Shirt illustration of a hip-hop singer gripping a mic spewing bad breath fumes I created for a hip-hop apparel brand called Unik Sovaj.

Video 2 of 3
This video shows how to digitally paint a colorful tiki head using my new set of custom Manga Studio brushes available for download for only $2.99.

100+ Brushes Available for $2.99 here:
https://www.flylanddesigns.com/shop/

Per request, I slowed this video down and added commentary to walk you through step-by-step the process I use to ink a piece of artwork.

You’ll also hear tips on:

-How to ink digitally from a pencil drawing in Manga Studio 5

-Converting pencil drawing to blue line for easier inking

-Always have a second window of your artwork open zoomed out at a small size

-What brush settings and brush presets I use when inking

-Start with the outlines or key lines when inking, and then go back in and add rendering and shading.

-Using the feathering technique to shape unique line work.

-Inking with quick, fluid motions to produce more natural, expressive lines

-Recommendation of the Razer Nostromo gaming pad for digital artists

-How to use the Lasso Fill tool in Manga Studio to create expressive ink shapes

-Being careful not too add too much detail and rendering – remember that you need to leave room for the coloring!

I hope you find it helpful! Please post questions in the comments.

How to digitally ink in Manga Studio 5 – Horror movie monsters and heavy metal character designs.

I illustrated this dark detailed illustration of an epic battle between Freddy, Leatherface, Nosferatu, The Excorsist, Frankenstein, Kirk Hammet, Ozzy, Alice Cooper, Corey Taylor, and more for a documentary on the history of Metal and Horror.

I was hired by Producer Mike Schiff of M.A.S. Productions to create an illustration of some of the most iconic figures in horror and heavy metal engaging in an epic battle. The image was used to promote a documentary they produced which explores the history of heavy metal music, horror films, and how the two genres have merged together over time.

The documentary features interviews with Alice Cooper, Kirk Hammett, Corey Taylor, plus a ton of other heavy metal stars, along with huge names in the horror industry. It was so great getting the chance to illustrate these iconic figures, including Freddy, Leatherface, Nosferatu, Ozzy, Alice Cooper, Kirk Hammet, and more. Pieces of the illustration were also used for an animation promoting the documentary.

Client Testimonial:
Incredible job on this. I knew you’d create something amazing , and holy crap is this good.
-Mike Schiff
Mas Productions

See clips from the documentary here:
http://www.metalhorror.com/

Support their Indiegogo campaign:
https://www.indiegogo.com/projects/the-history-of-metal-and-horror#/story

—————————

This video uses a custom set of 100 Manga Studio 5 brushes available for purchase here for $2.99:

—————————

MUSIC BY:
Roadside Funeral
Special thanks to the talented Jeremy Bratton for allowing me to use the tunes from his band’s new self-titled album. If you dig the tunes, please purchase here: https://roadsidefuneral.bandcamp.com/releases

—————————
To check out more of my work, or to hire me:

Follow me on Facebook:
https://www.facebook.com/brianallen.flylanddesigns

Speed-Inking Tutorial video I created for the process of digitally inking an album cover for the Brazillian band John Wayne in Manga Studio 5 (Clip Studio Paint) with a Wacom Cintiq 24HD.

The album cover I illustrated was for the Brazilian heavy metal band John Wayne (named after John Wayne Gacy – not the other guy). It was a great pleasure working on this with the band, as they gave me a lot of freedom, and I set upon the design without much planning, and tried to let it flow. This album cover is the first in a set of two albums, that when placed together will form one cohesive image. This album represents the dark side, while the following album will have a similar design, but mirrored, and “lighter.”
You can purchase the album here:
https://www.facebook.com/BandaJohnWayne


To check out more of my work, or to hire me:

Follow me on Facebook:
https://www.facebook.com/brianallen.flylanddesigns

On Instagram:
http://instagram.com/flylanddesigns_brian_allen

On YouTube:
https://www.youtube.com/user/flylanddesigns

On Twitter:
https://twitter.com/flylanddesigns

On Behance:
https://www.behance.net/flylanddesigns

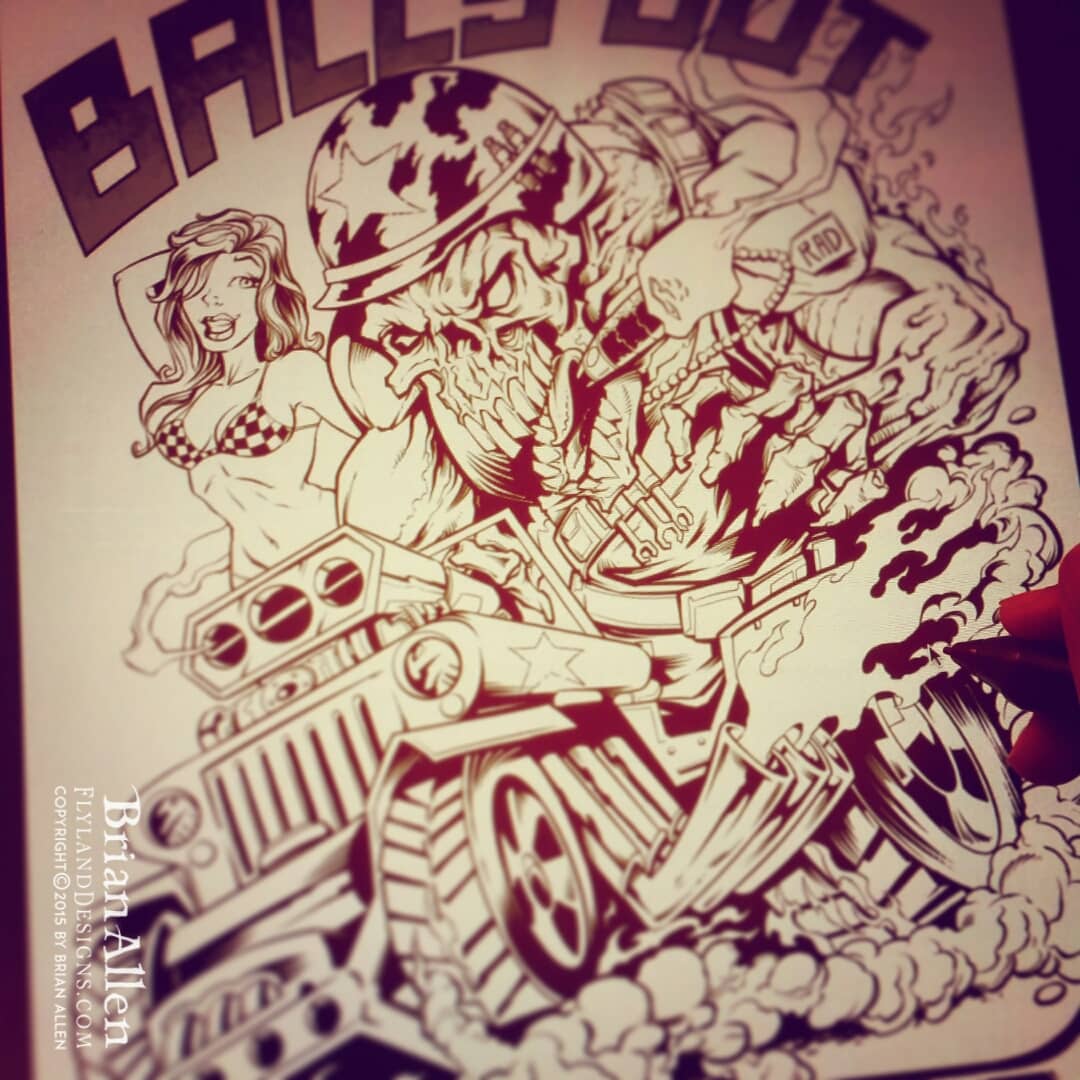
Here’s a inking tutorial for a hot-rod t-shirt for Commando Racing. Check out the shirt at (http://commandoracing.com/t/shirts)

I created this fun t-shirt design for Commando Racing Gear – a hardcore skeleton! We went through a couple different [and equally exciting] designs but eventually settled on this one. I had a lot of fun with this!

Thanks for watching, please post any questions in the comments.

FREQUENTLY ASKED QUESTIONS

–What software do you use?
Manga Studio 5 EX and Adobe Photoshop CC

–What tablet do you use? Wacom Cintiq 24HD, and sometimes a Wacom Companion 1

–What computer do you use?
iMac

–What brushes do you use?
I use variants I created from the stock brushes in Manga Studio 5, as well as brushes I purchased from Ray Frenden.

–How much time does an illustration take?
Projects vary greatly, but I would say a good average would be 8 hours.

–People actually pay you to do this all day?
I know, right?

—————————

Follow me on Facebook:
https://www.facebook.com/brianallen.flylanddesigns

On Instagram:
http://instagram.com/flylanddesigns_brian_allen

On YouTube:
https://www.youtube.com/user/flylanddesigns

On Twitter:

On Behance:
https://www.behance.net/flylanddesigns

Here’s a video of how to ink for a laser-cut skateboard.

I was recently hired to conceptualize and illustrate a team of Superhero zombies to be laser-engraved into skateboards by Revenga (www.revengaskateboards.com).

While designing, I also had to structure the design so the layout could be changed to fit a T-Shirt as well. I made sure to keep the characters masked on separate layers, that way moving them around at the end was relatively easy.

We also created a silk-screen color version for boards and shirts, using around 6 colors.

Thanks for watching, please post any questions in the comments.

To check out more of my work, or to hire me:

FREQUENTLY ASKED QUESTIONS

–What software do you use?
Manga Studio 5 EX and Adobe Photoshop CC

–What tablet do you use? Wacom Cintiq 24HD, and sometimes a Wacom Companion 1

–What computer do you use?
iMac

–What brushes do you use?
I use variants I created from the stock brushes in Manga Studio 5, as well as brushes I purchased from Ray Frenden.

–How much time does an illustration take?
Projects vary greatly, but I would say a good average would be 8 hours.

–People actually pay you to do this all day?
I know, right?

—————————

Follow me on Facebook:
https://www.facebook.com/brianallen.flylanddesigns

On Instagram:
http://instagram.com/flylanddesigns_brian_allen

On YouTube:
https://www.youtube.com/user/flylanddesigns

On Twitter:
https://twitter.com/flylanddesigns

On Behance:
https://www.behance.net/flylanddesigns

I’ve been using Manga Studio 5 for over a year now, and I love it.  I set out to make a quick YouTube review of it, and “quick” quickly turned into over 15 minutes of me rambling.  There are so many cool new tools and features in MS5, that it was really hard to fit them all in.

If you’re considering purchasing new art software, you’ll definitely want to check this out.

 Watch the Full Video Review:

In Summary:

Manga Studio 5 Compared to Adobe Photoshop:

There are a TON of things that Manga Studio does better than Adobe Photoshop.  Can it replace it?  Maybe someday – but for now I think Adobe Photoshop is irreplaceable.  That being said, I use Manga Studio for 90% of all the artwork I create.  I usually use Adobe Photoshop for any work involving text, and for certain filters.

Manga Studio 5 sets out to out-shine Adobe Photoshop as a digital painting and drawing software, and in my opinion, it does that beautifully.

I find it far more enjoyable to use than Photoshop at painting, drawing, and especially inking.  It blends the intuitive painting and blending engines of Corel Painter with Adobe Photoshop’s intuitive interface and power.

Here’s a sample of some of the artwork I created in Manga Studio 5:

What’s Totally Freaking Awesome About Manga Studio 5

Features that you won’t find in Adobe Photoshop

  1. It’s CHEAP!

    1. It’s hard to compile a benefits list without mentioning the fact that it’s butt-loads cheaper than Adobe Photoshop.
    2. I’m currently using the Adobe Creative Cloud, Photographer’s bundle, which is only $10 a month (hard to complain about that).  But even at that price, it still ends up being $120/year.
    3. Manga Studio 5 is currently only $35 on Amazon.com:  Purchase it Here
  2. Paint with Transparency – my favorite feature

    1. Manga Studio 5 easily lets you switch to transparency as a color on the fly, making any brush instantly into an eraser.  Great for cleaning up linework, inking with “white,” and “erasing” away paint strokes that you laid on too heavy.
  3. Reference layers – extremely helpful tool when coloring

    Reference layers are an incredible concept, that I’ve never experience before in any other program.  It works like this:

    1. Choose any layer (or even a group of layers) to act as the Reference Layer by clicking the lighthouse icon in the layer menu.
    2. Now select a different layer.
    3. Choose a tool such as the magic wand, paintbucket, or eye-dropper, and make sure it is set to “Refer To Reference Layer.”
    4. Now, watch in amazement as the paint bucket fills, the wand selects, the eyedropper… uh, drops using data not from the layer you are editing, but from the reference layer!So what is this useful for?  I use it all the time when coloring artwork.  I create a flat color layer under my lineart, with no shading.  Comic book artists refer to these as “Flats.”  Then I create a new layer above the Flats, and set the Flats as a reference layer.  Now, as I color, I can quickly switch between the magic wand and my brush, and the magic wand makes selections based on the Flat layer.
      In Adobe Photoshop, I would have to constantly hide my color layer, switch to my flats layer, make the selection, unhide my color layer, switch back to the color layer, and paint.  Reference Layers in Manga Studio save me so much time.  And the same concept works for the paint bucket, along with other tools.
  4. Lasso Fill Tool

    This tool can be a free-form lasso, a polygon lasso, or a specific shape.  As soon as you are done drawing the shape, it fills with your foreground color automatically onto the canvas.

    1. Great for making smooth, irregular shapes when the Stabilization is set very high.
    2. Great for blocking in large areas of black or color.
    3. Great for quickly deleting large areas (when painting with transparency).
  5. Selection Pen Tool

    1. This is a special brush that instantly makes your stroke (or strokes if you hold down shift) into a marquee selection.  Great for painting lots of tiny highlights (when coloring with comic book style).
    2. You can configure this brush just like any other, with different brush shapes and pressure settings.
  6. Symmetrical Rulers!

    Similar to Autodesk Sketchbook Pro, Manga Studio 5 has some great symmetrical rulers.

    1. Draw a ruler anywhere that will mirror the image in real-time.  This doesn’t appear to slow down my machine at all.
    2. You can even draw up to 8 symmetrical rules at once, which can create some really cool Spiral-Graph-style designs (warning: this will probably slow down your machine a bit).
    3. Huge time saver (50%!).
  7. Gradient Layers

    1. This tool allows you to create a gradient that you can edit and resize (similar to Adobe Illustrator) in real-time even after you’ve laid it down.
    2. Change the size, add/remove colors, and change the spacing of the colors easily until you rasterize the gradient.
    3. You can also use gradients the traditional way if you choose.
  8. See flipped canvas in mirrored window

    1. One of my favorite features.  A trick I learned a while back was to constantly flip my canvas horizontally or vertically, which will make any errors you’ve made stick out like a sore thumb.  But flipping the canvas in Photoshop can take a little while to load (especially if you’re working with a large file), because it actually is transforming and flipping all the pixels on the canvas.
    2. Manga Studio does this in a much cleaner way – it is flipping the view, not the canvas itself.  So the result is instantaneous, and the result isn’t saved in the file.
    3. What’s even better, is that you can draw with one window in the original orientation, while having a second window open with the view flipped, and it’s updated in real-time.  This way you can spot errors as you make them.
  9. Half-tone Layers

    1. Easily editable at any time.  Great for setting up silk-screening artwork.

    2. In Adobe Photoshop, it’s very tedious creating halftones for silk-screening.  You have to output the layer, convert it to a bitmap, then choose a halftone pattern and size (if you don’t like it, you have to repeat the process), then copy and paste the pattern back into Photoshop for each screen.
    3. In Manga Studio, you can instantly change any layer in your document to a half-tone layer, and continuously adjust the size and shape of the halftone pattern, again and again.  You can even paint directly onto this layer, and watch it convert your airbrush strokes into solid dot goodness, with no lag at all.
    4. When you’re done, just rasterize the layer, and you’re all set!
  10. 3D poses

    1. Manga Studio comes with a library of 3D objects and mannequins which can be posed for reference, and dropped right into your artwork.
    2. I find the 3D engine in Manga Studio much more flexible and responsive (although it is suitable for reference only, not rendering – Photoshop takes the cake on that one).More Illustrations I created using Manga Studio 5:
  11. Can create full-color brushes

    1. Similar to Painter and Adobe Illustrator, the brushes you create can have full-color (not just a black and white imprint).
    2. In Adobe Photoshop, all the brushes you create can only be one solid color.
    3. This is great for creating custom textures, repeating icons and elements.
    4. There are also many ways to make the image curve with your stroke, so creating things like chain and rope brushes is very easy and effective.
  12. Better (in my opinion) organization and customization of brush palettes

    1. You can easily create and organize your own groups of brushes on the fly, and add them to your menu, or as a tabbed list.  I find this much easier than saving each brush group, and then replacing or appending it to the current list of brushes (as in Photoshop).
    2. HOWEVER – exporting brushes from Manga Studio is very cumbersome, and definitely needs an update.  While you can upload many brushes at once, you can only export one at a time.
  13. Color Wheel

    1. I have never liked Photoshop’s color picker, and have always preferred Corel Painter’s color wheel.  Manga Studio’s color picker is almost identical to Painter’s.  I find it much easier to quickly pick and adjust colors.
    2. In Adobe Photoshop, I use a plugin called Magic Picker (http://anastasiy.com/colorwheel) which is a great way to emulate a Corel Painter style color picker.  But it would be nice if this feature was built into Photoshop.
    3. NOTE:  Adobe Photoshop CC 2014 finally introduced a Color Picker palette that is similar, but I think it still falls short, because there is no color wheel.
  14. Image movement isn’t LOCKED in a window

    1. When working with two or more windows at once, Photoshop won’t allow you to pan beyond the document bounds unless you are zoomed in to the point that the document bounds exceeds the size of the window.
    2. This is very annoying when working with a Cintiq, because I often like to have the part of the image I’m working on in the center (where it’s most comfortable to draw), so I pan the canvas around a lot.
  15. Smart Paint Bucket

    In Adobe Photoshop, the paint bucket in my opinion was so useless that I simply forgot about it.  In Manga Studio, I actually use it quite frequently, because it’s so much more effective and customizable.

    1. You can make the fill area expand or shrink by a certain number of pixels, which is very helpful when coloring underneath lineart to avoid ghost outlines where the anti-aliasing of the lineart meets the color fill.
    2. You can control the sensitivity of what the bucket considers a closed area.  This is the Close Gap feature.  This is extremely useful, because I often don’t enclose my shapes completely with lineart.  If there is just a tiny gap, it will still fill the area as if it were closed.
    3. Very useful when set to reference layers, because you can use data from a layer that is out of sight.
  16. Smart Magic Wand

    The same goes for the magic wand.  It’s extremely customizable and flexible compared to the two parameters Adobe Photoshop offers.

    1. Can also be set to automatically expand or shrink the selected area immediately after clicking.  This is useful because I would often make a selection in Adobe Photoshop, and then go to Expand Selection by a couple pixels to make sure my color and lineart overlapped.
    2. Can also close gaps.
    3. Can select from layers other than the one you are currently editing.
  17. Layer Property menu

    1. You can change the entire color of a layer’s contents easily.  This is particularly useful when designing artwork for silk-screen applications.  Each layer can be painted with black, but it can appear on screen as a different color.  You can apply this effect to an entire group – which allows a quick way to make sure every layer in your group is the same color.

    2. Great for turning pencils into “non-photo” blue when inking.
  18. Edit/delete from multiple layers at once

    This is something that I’ve waned in Photoshop for quite some time.  If you make a selection in Manga Studio 5, and then OPTION+CLICK each layer that you want to delete from, and then hit delete, it will delete content in that selected area from ALL those layers at once.  In Adobe Photoshop, you’d have to hit delete individually for each layer you want to delete from.

    1. Can even make a whole group into a clipping mask.
    2. Easily delete a selection from a multiple layers at once.
  19. Copy/Paste from multiple layers

    Even better is the ability to copy and paste from multiple layers at once.

    1. You can make a selection with the lasso tool, then highlight multiple layers, and copy (or cut) and paste the artwork into new layers in one action.
    2. The only way to do this in Adobe Photoshop would be to put the layers into a group, and mask the group.
    3. Copy Merged is also a solution, but this is only useful if you don’t mind the layers being merged.
  20. Smaller File Size

    1. A PSD saved in Manga Studio is about 30% smaller than the same exact file saved in Photoshop.  I’m not sure why this is – perhaps Photoshop is saving a lot of extra data that I don’t usually use.
      More Illustrations I created using Manga Studio 5:
  21. Subview window for reference and color picking

    This is a cool tool that I think is exclusive to Manga Studio.

    1. It’s a palette that opens a preview of any image without actually opening the file, and keeps in on display for reference or color picking.

    2. Also, you can open many files at once in this window, and just flip between them.
    3. Your cursor instantly becomes an eye-dropper tool when you hover over it, making it a virtual palette.
    4. This is very useful when working on something like a children’s book or comic book when there are a lot of the same characters that you need to redraw with the same colors.
  22. Mesh Transform multiple layers at once

    1. Manga Studio’s mesh transform tool is better (in my opinion) than Photoshop’s Warp Transform tool, because you can transform an entire grouping of layers at once.  In Photoshop, you can only Warp Transform one layer at a time.  This usually forced me to merge layers when I didn’t want to.
    2. You can also add mesh points (similar to Adobe Illustrator) to give you more precise control over your transformations.
    3. However, it falls short when compared to Adobe Photoshop’s liquify tool.
  23. Periodic Backups

    1. The program automatically saves iterations of you file as you work on it, just in case the unthinkable happens.  If, for example, you accidentally flatten your image, you can then go into the Manga Studio Library folder (on Mac) and find your file.
    2. It only keeps a certain number of backups total as temporary files, so you don’t have to worry about managing these files to manage space.
    3. Adobe Photoshop CC saves backups – however, these are only saved and accessible if the program has crashed.
  24. Undo whole group of strokes in one “Undo” action

    1. Often, you might make a whole series of quick strokes with the brush (say for example, 10 brushstrokes), and then decide you don’t like what you’ve done.  In Adobe Photoshop, you’d have to hit Undo 10 times.  In Manga Studio, it sees these quick strokes as one action, so it will undo the whole series.
    2. You can adjust how Manga Studio groups the brushstrokes (as well as turning this feature off).
  25. Convert Brightness To Opacity

    1. In one step (accessed from the Edit menu), you can cleanly remove the “white” or light areas and turn them into transparency.
    2. This is very useful for extracting flattened lineart from scans.
    3. In Adobe Photoshop, I normally did this in the Channels palette – but I find that Manga Studio does a much more accurate job.
  26. Draw straight lines while holding shift

    1. Unlike Photoshop, this feature shows you a preview of where your line will be as you hold shift, which is very useful.
    2. Stroke is unaffected by pen pressure (won’t get smaller toward the end), unlike Adobe Photoshop (which I always found annoying, because if I’m drawing a straight line, I usually want it to be the same thickness throughout).
  27. Rulers!

    1. There is an incredible number of rulers you can use in real-time on your canvas.
      1. Curves
      2. Parallel lines
      3. Ellipses
      4. Concentric circles
      5. Focus line
      6. Perspective Rulers (awesome!)
    2. The rulers are easily moveable, adjustable, and resizable, just by holding the CMD key as you hover over a ruler.  No need to switch tools.
    3. You can also easily toggle them on and off just with a keyboard shortcut – so it’s easy to flip back and forth between free-hand drawing and ruled-drawing.
    4. You can even draw your own rulers using the Ruler Pen!

Improvements made from Manga Studio 4

  1. Overall better User Interface
    1. The MS4 interface was a bit clunky, and felt like Windows 2000, with palettes floating everywhere.
    2. The new interface combines the best things of both Adobe Photoshop and Corel Painter.
    3. You can now rearrange and dock palettes, and collapse menus.  This is the most customizable interface of all the other software I’ve mentioned so far.
    4. You can now save different Workspaces.
  2. Improved file-handling

    1. Fixed strange file saving structure (used to be in a folder)

    2. You can now work on documents as large as 166 inches square (the limit was only 16 inches in MS 4).

  3. Much improved brush engine

    1. Tons of options (maybe too many)

    2. Lock editability of brush

  4. Much less limited image size

    1. In EX4, you were limited to 16 inch documents, which becomes tricky when designing T-Shirts.

  5. Ruler system greatly improved.

    1. EX4’s rulers were complicated, and difficult to edit.

    2. Now you can easily turn on and off a ruler, or move it to other layers.

    3. Perspective rulers also seem easier to use.

  6. Coloring greatly improved

    1. Import color swatches from Photoshop, and save them.

    2. Tons of new painting tools similar to Painter

    3. Active color wheel like Painter

  7. Added blending modes similar to Adobe Photoshop
    1. Nearly all the blending modes (for both layers and brushes) you’d come to expect are now here.  There are a few additions too that Photoshop doesn’t have, such as Glow Dodge (which is similar to Linear Dodge in Photoshop).
    2. My only complaint is that a Color blending mode appears to be missing – Soft Light works well as a substitute.
  8. Much improved layer and layer group system
    1. I found MX4’s layer system to be too complicated.  The new system mirrors Adobe Photoshop in all the good ways.


Thanks for reading!  If I’ve missed any features, or if you have any questions, please leave them in the comments section.

To check out more of my work, or to hire me:

https://www.flylanddesigns.com


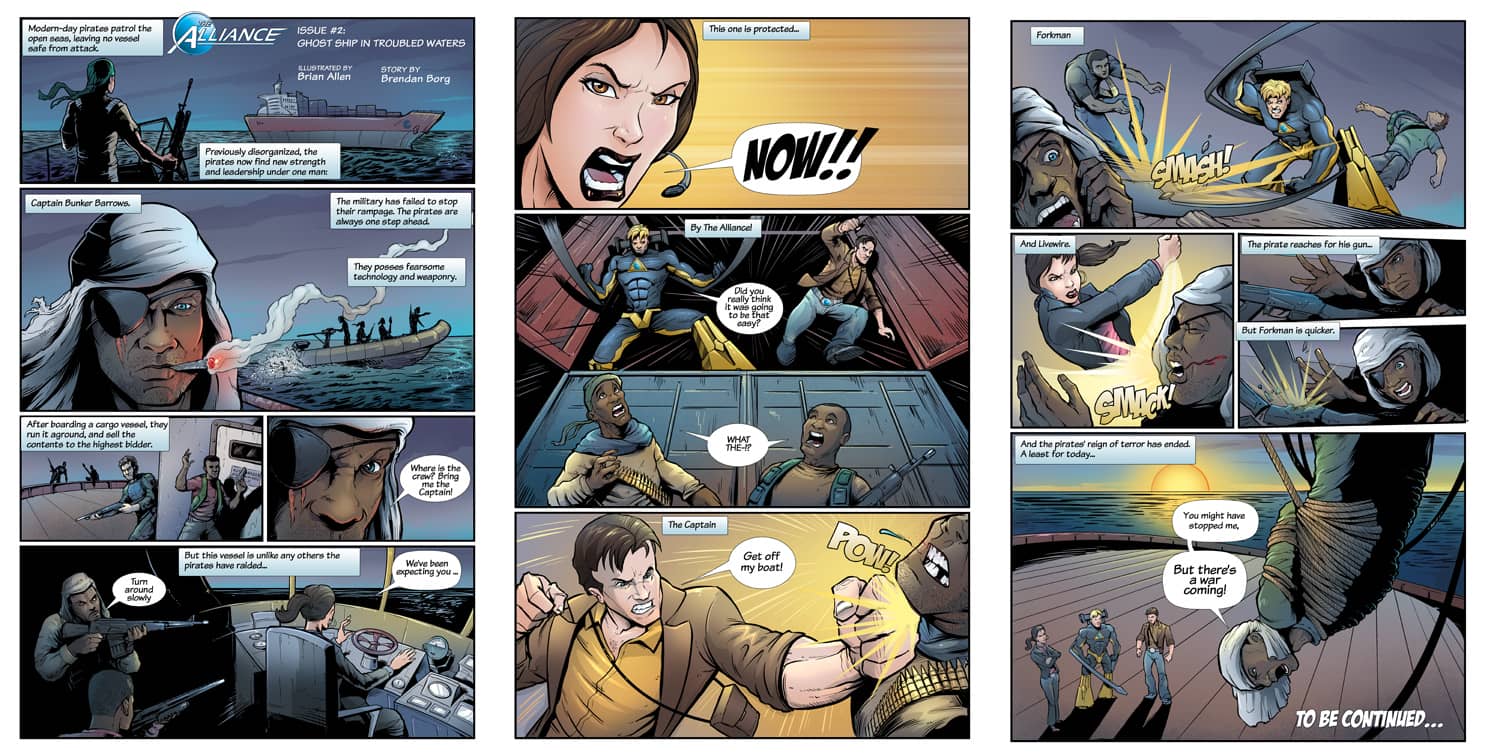
I just finished Issue #2 of a promotional comic series for Consol Alliance, a shipping company in Australia. Here’s a step-by-step look into the complicated process of how I create comic book art.

Read more